
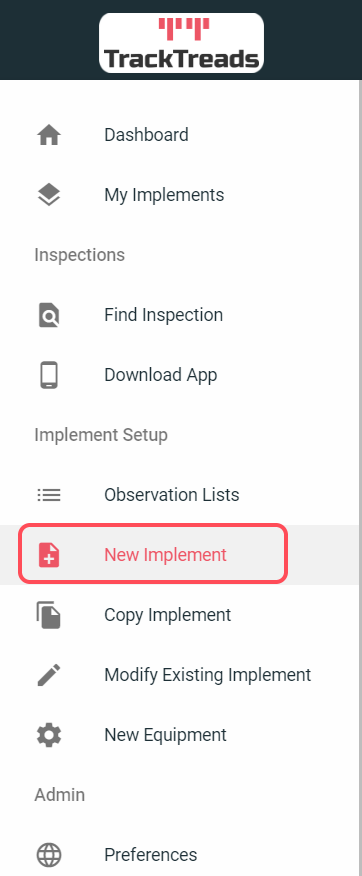
Create New Implement
1. Navigate to 'New Implement' in the left hand menu on the Web Application.
2. Select Customer from drop down list.
3. Select Jobsite from drop down list.
4. Select either 'Add to Equipment' or 'Jobsite Inventory'.
- if you choose 'Jobsite inventory' you will skip step 6 and 7.
5. Add Implement image.
6. Select the equipment from Model: Serial # : Unit # from drop down list.
7.Enter Equipment SMU (hours).

8. Select type of implement from previously Setup Implement drop down list, Specify New or Copy from Existing. In this example we will 'specify new' implement.

9. Enter a Implement Serial No.
10. Select Implement make - Select from drop down list.
11. Enter Hours on Implement at Setup.
12. Select the models the Implement will fit.

13. Upload schematics to be used for defining component and inspection points.
14.Enter date of Setup then press next.

15. Add Components to Implement - Components require a 'Component Name', you can also select 'Make' and 'Part No'.
16. You are able to change the order of the components by pressing the up and down arrows, then press 'Next'.

17. Select Schematic to open schematic popup.

18. Select anywhere on the schematic - to add an Observation Point.
19. Enter name for your Observation Point.
20. Select the Component connected to the Observation Point from the drop down list.
21. Select Observation lists to be answered or add new by pressing the plus sign.

22. Add Question Image.
23. Select type - either Normal or Crack.
24. Enter No. of Readings.
25. Enter Limit-New in mm's - this is optional.
26. Enter Limit-Worn in mm's - this is optional.
27. Press Create Point.
28. Add as many Observation Points as you wish then close.
29. Edit Observation Point information.

30. Press 'Save & Setup Implement'.
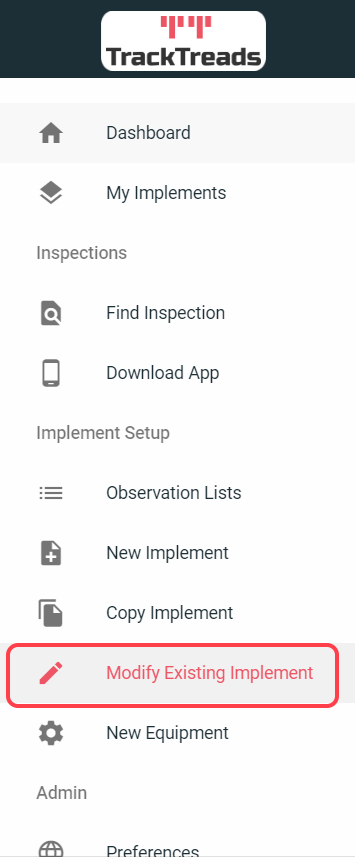
Modify Existing Implement
1.Navigate to 'Modify Existing Implement' in the left hand menu on the Web Application.
2. Follow the steps 2-7 used for creating a new implement.
3. Select the Implement you would like to modify from drop down list.
4. Make necessary changes and save.
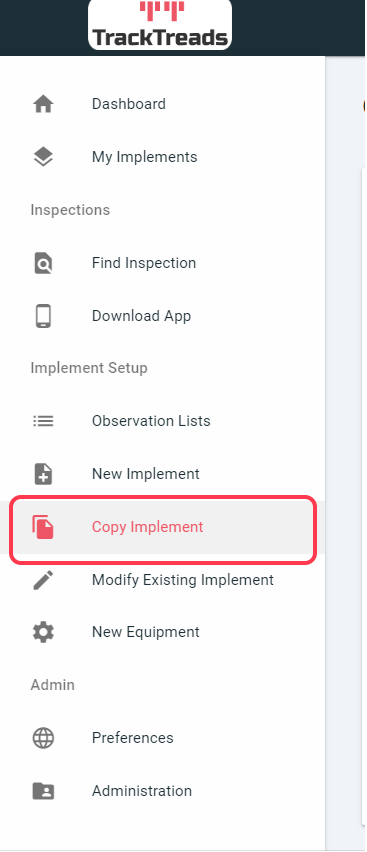
Copy from Existing Implement
1. Navigate to 'Copy Implement' in the left hand menu on the Web App.
2. Source details is where the EXISTING Implement is located.
3. Select Customer, Jobsite and Equipment from drop down list.
 4. Destination is where the Implement is being copied to.
5. Select Customer, Jobsite and Equipment - Select from drop down list.
6. Select the Implement you would like to copy.
7. Enter a Serial No. for the Implement.
8. Enter Setup date.
9. Press 'Copy selected'.
10. Check for a tick in the status column to confirm copy was successful.
