To create a new Frame Inspection navigate to the following screen “New Workshop Repair”
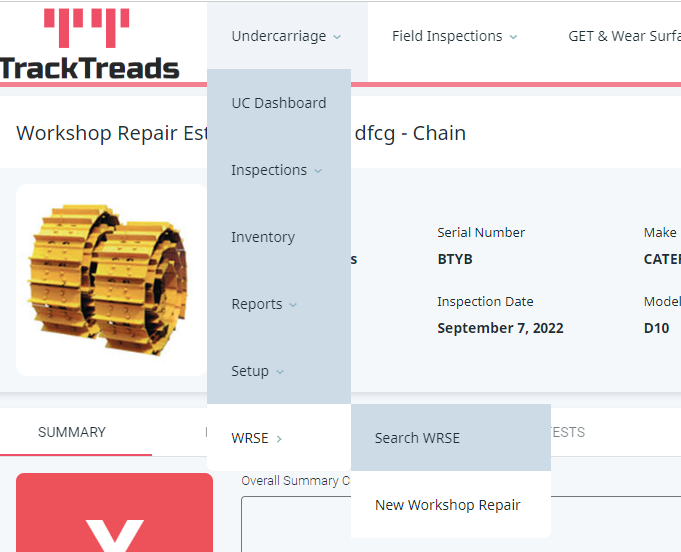
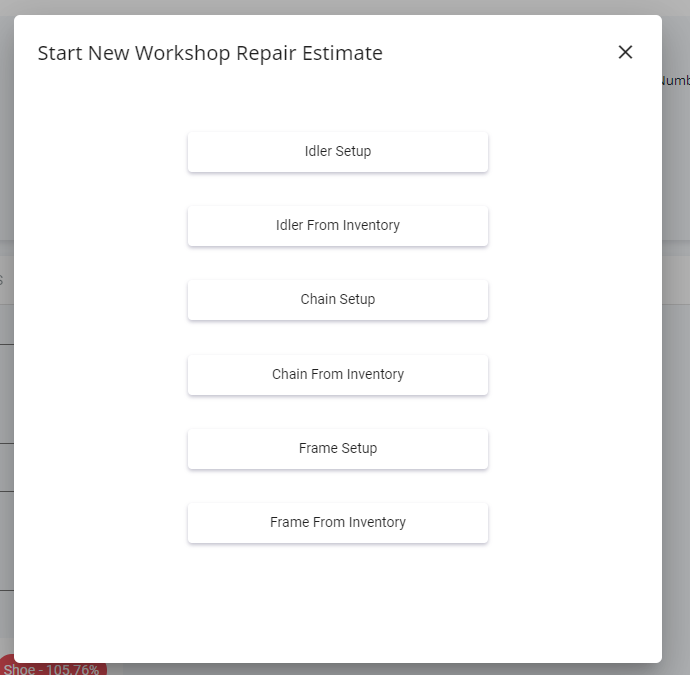
The following popup will appear – the bottom 2 options are for Frame Inspections. Frames that have not been inspected before – click on “Frame Setup”. For Frames that have previously been inspected – click on “Frame From Inventory”.
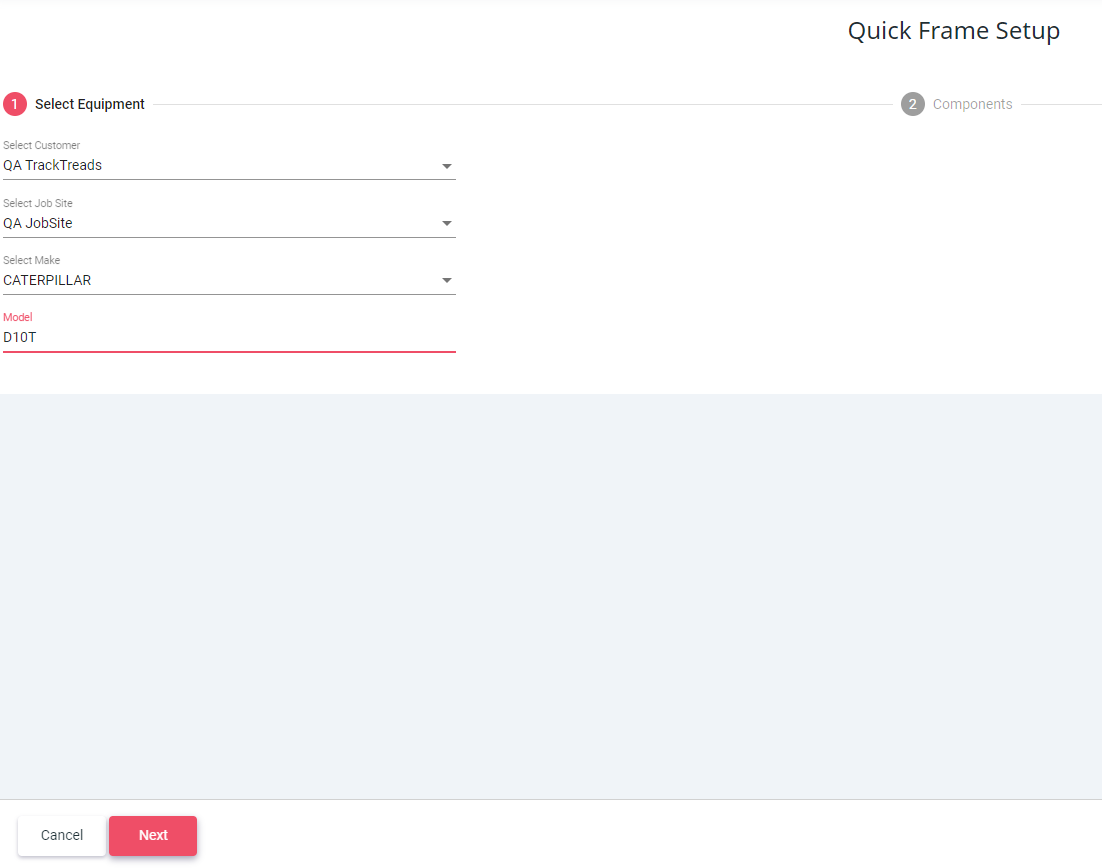
Frame Setup – this will open the screen, Quick Frame Setup – select the Customer, Job Site, Make, and Model – then click on Next
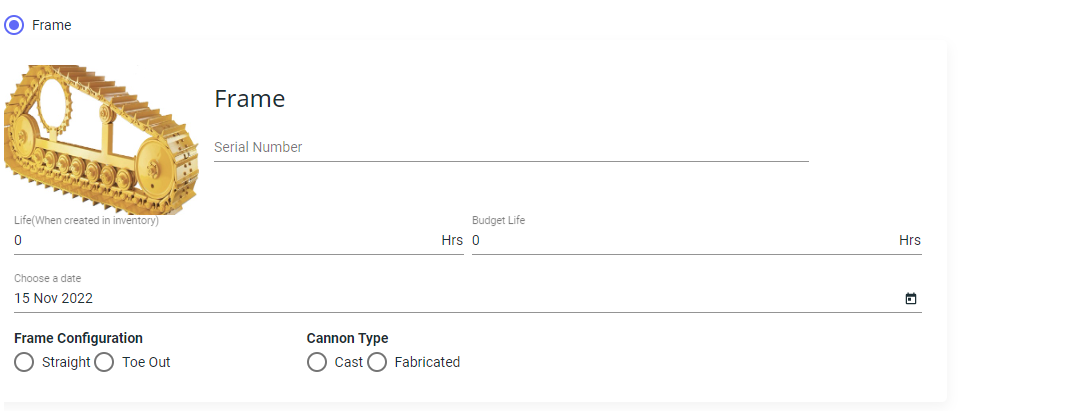
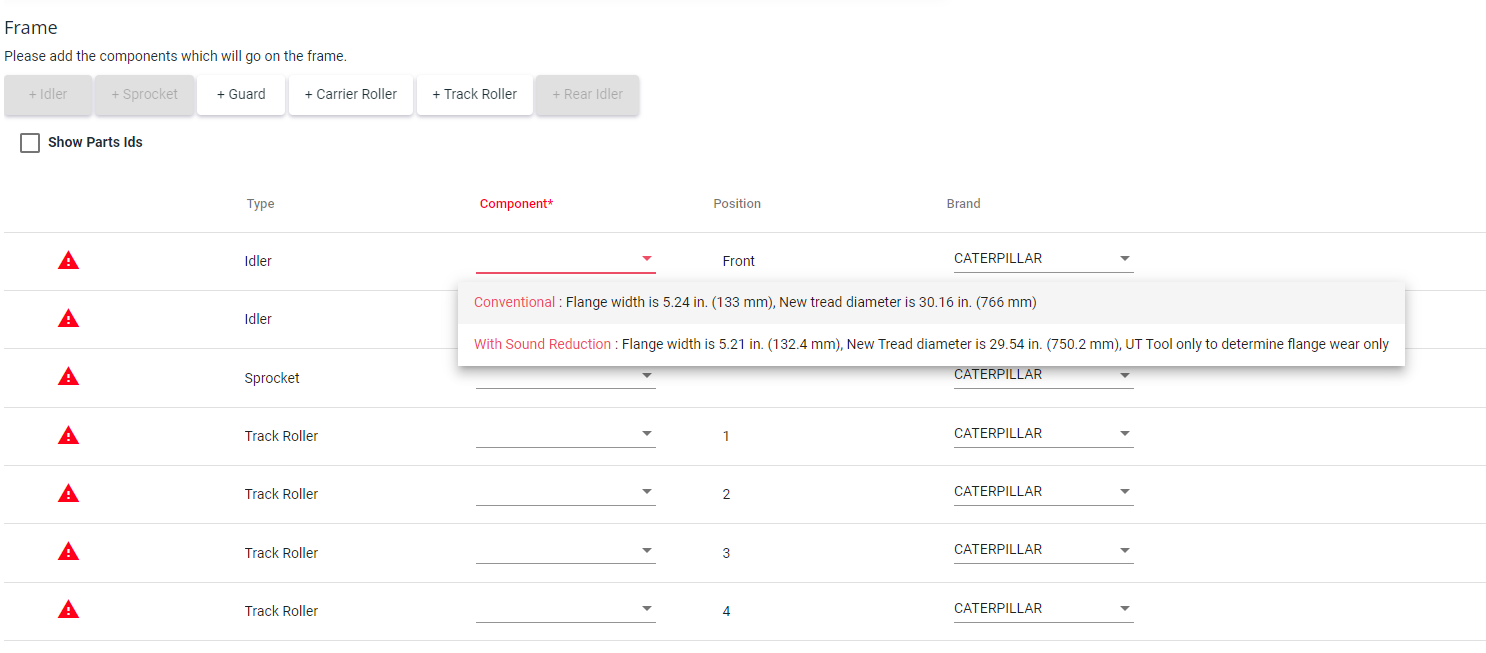
The next screen allows you to select the details of that Frame and the components that are attached to it.
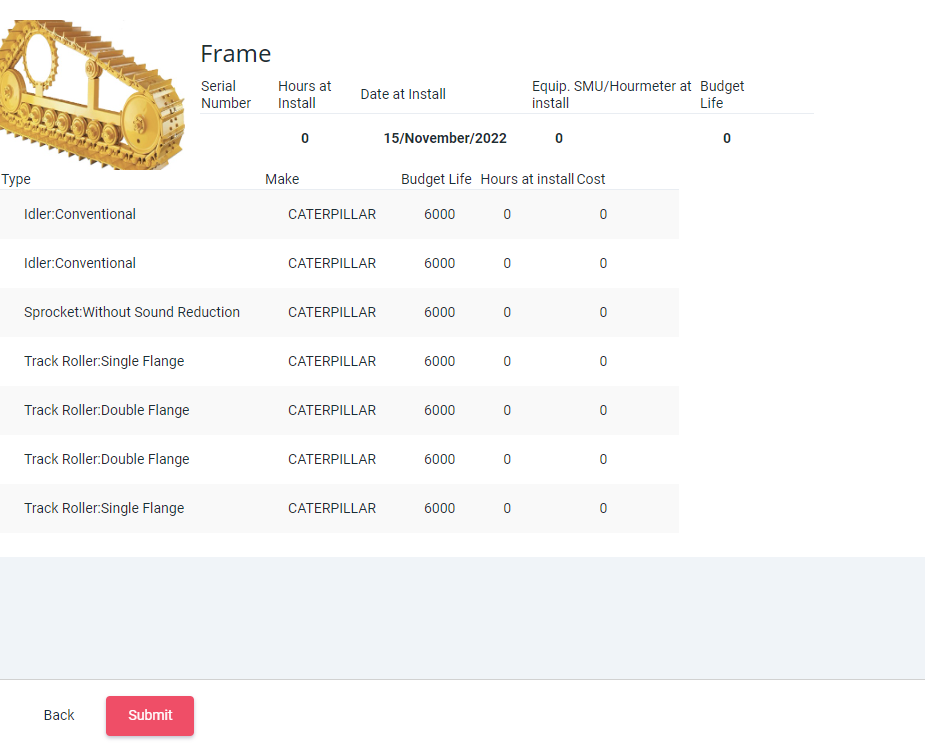
The next screen allows you to review your information and then click on “Submit” to Save or Back to make any changes required.
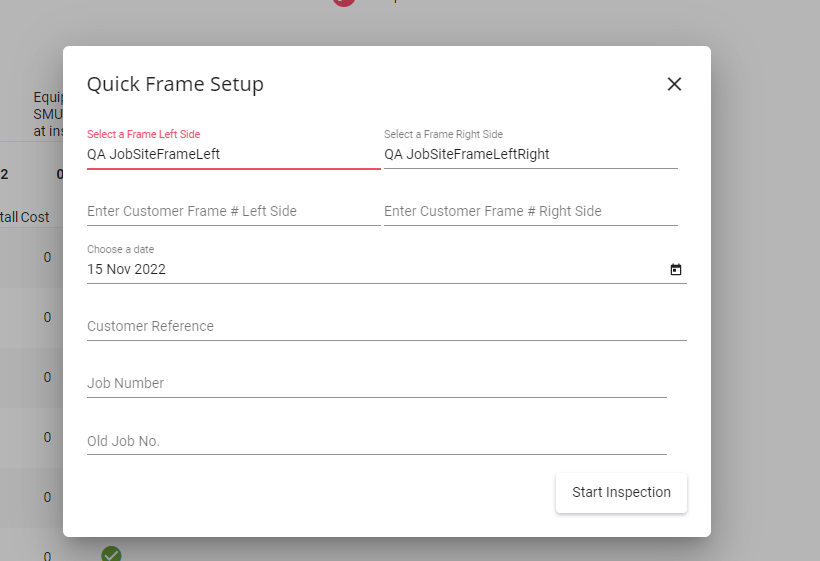
After clicking on Submit the following popup will appear – amend or add the Serial Numbers for Left and Right – then add any further information required and click on Start Inspection.
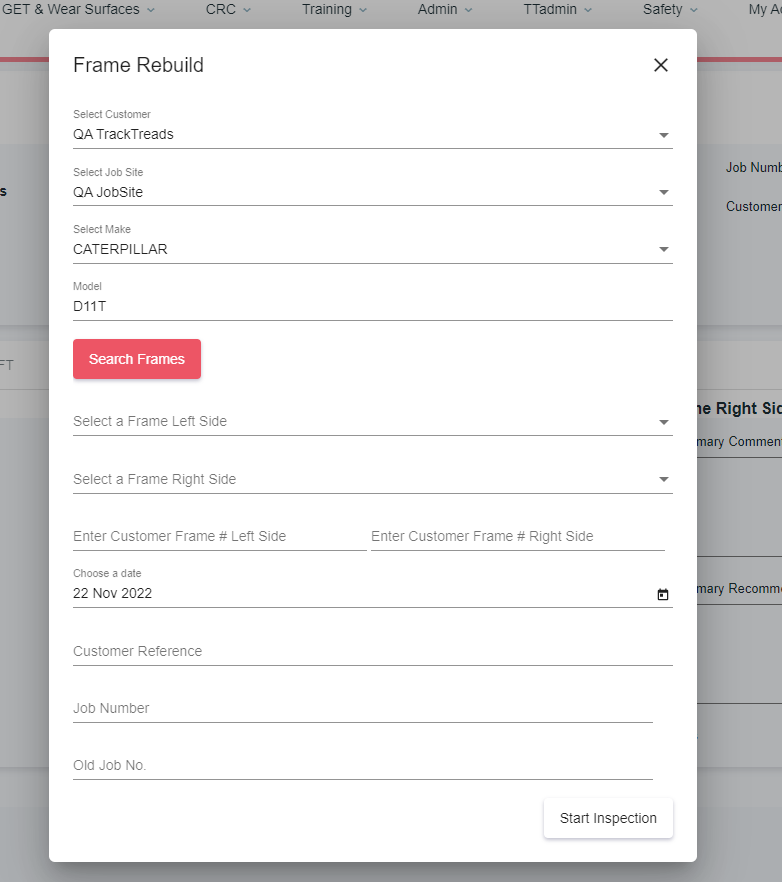
If this Frame has been inspected before – please use the Frame from Inventory option. This will open the following popup allowing you to search by Customer, Jobsite, Make and Model – please enter this information and then click on Search Frames.
Use the drop down options to select the Left and Right Frames, then enter any inspection information that you have and click on Start Inspection.
To cancel – click on the little black X in the top right hand corner.
This will open the Inspection Screen – there are 5 tabs SUMMARY, PHOTOS, COMPONENTS, LEFT and RIGHT
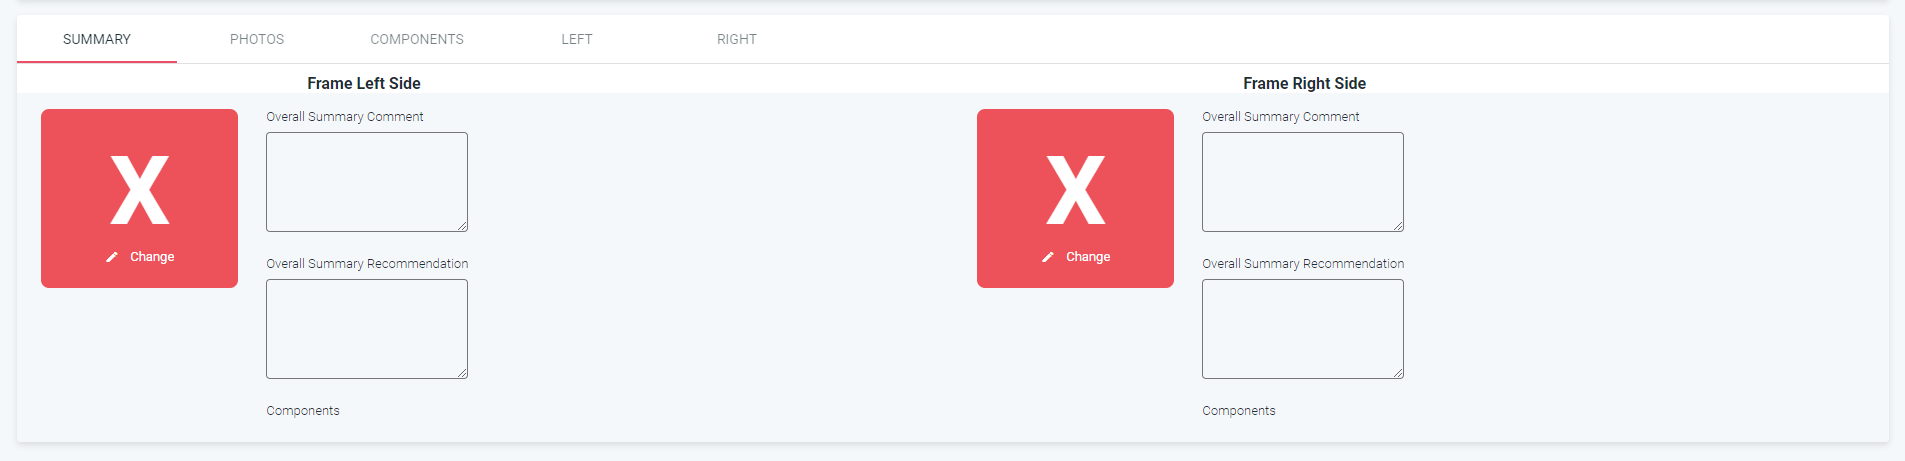
SUMMARY – this is to enter the overall evaluation for that Side, and any overall comments and recommendations.
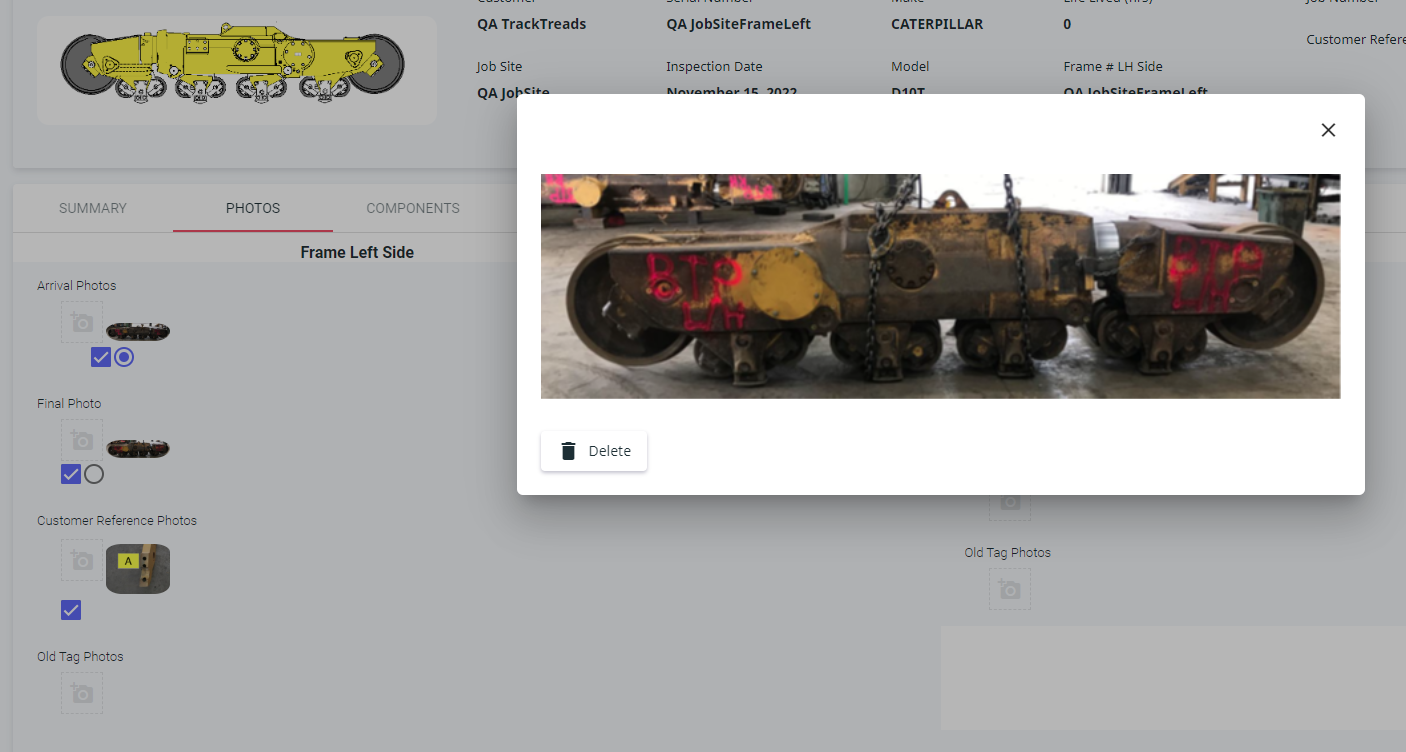
PHOTOS – this tab is to load any images you have for the Frame on either the Left or Right sides. There are 2 icons close to the image – tick – this will show the image on the report and the circle – which will show the arrival and final photos on the front page of the report.
To delete the image click on it and a popup will appear as shown below – you can then click delete.
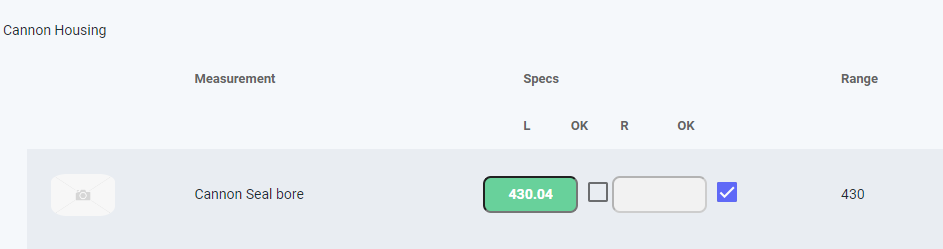
COMPONENTS – these are the measurement points for the Frame – a measurement can be entered and this will show green if it is within the range. You can also enter OK if the point is looking good simply tick the box as shown below
LEFT and RIGHT – these tabs allow you to measure the components that you have added to the Frame. Please enter any measurements, images and comments that you take.
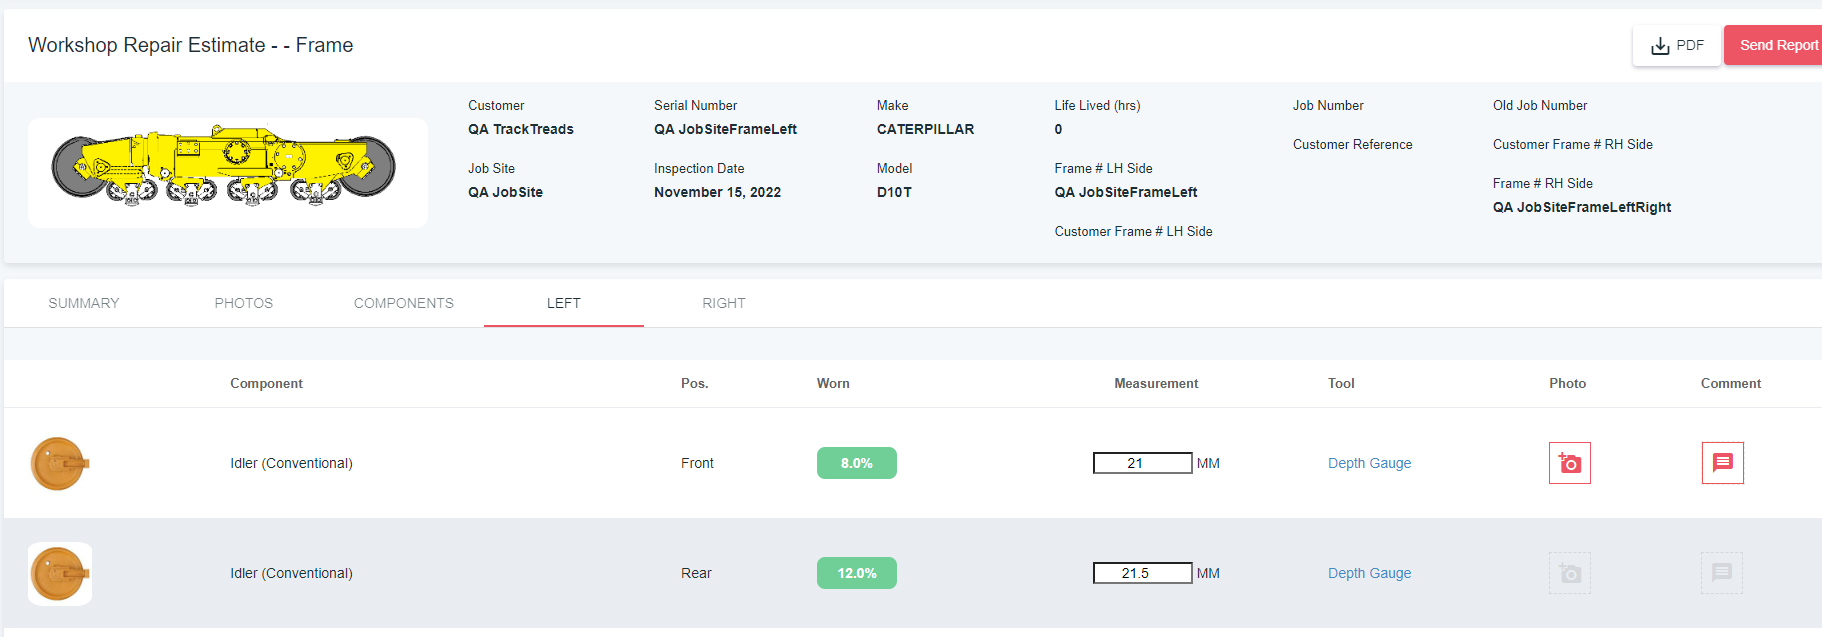
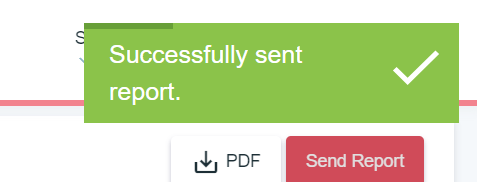
Once you have added all the information to the inspection – click the button PDF to review the the report. This will download the report, if there are any changes required, you are able to make them to the inspection. Once you are happy with the report, you can click on the Send Report and the following popup will appear.
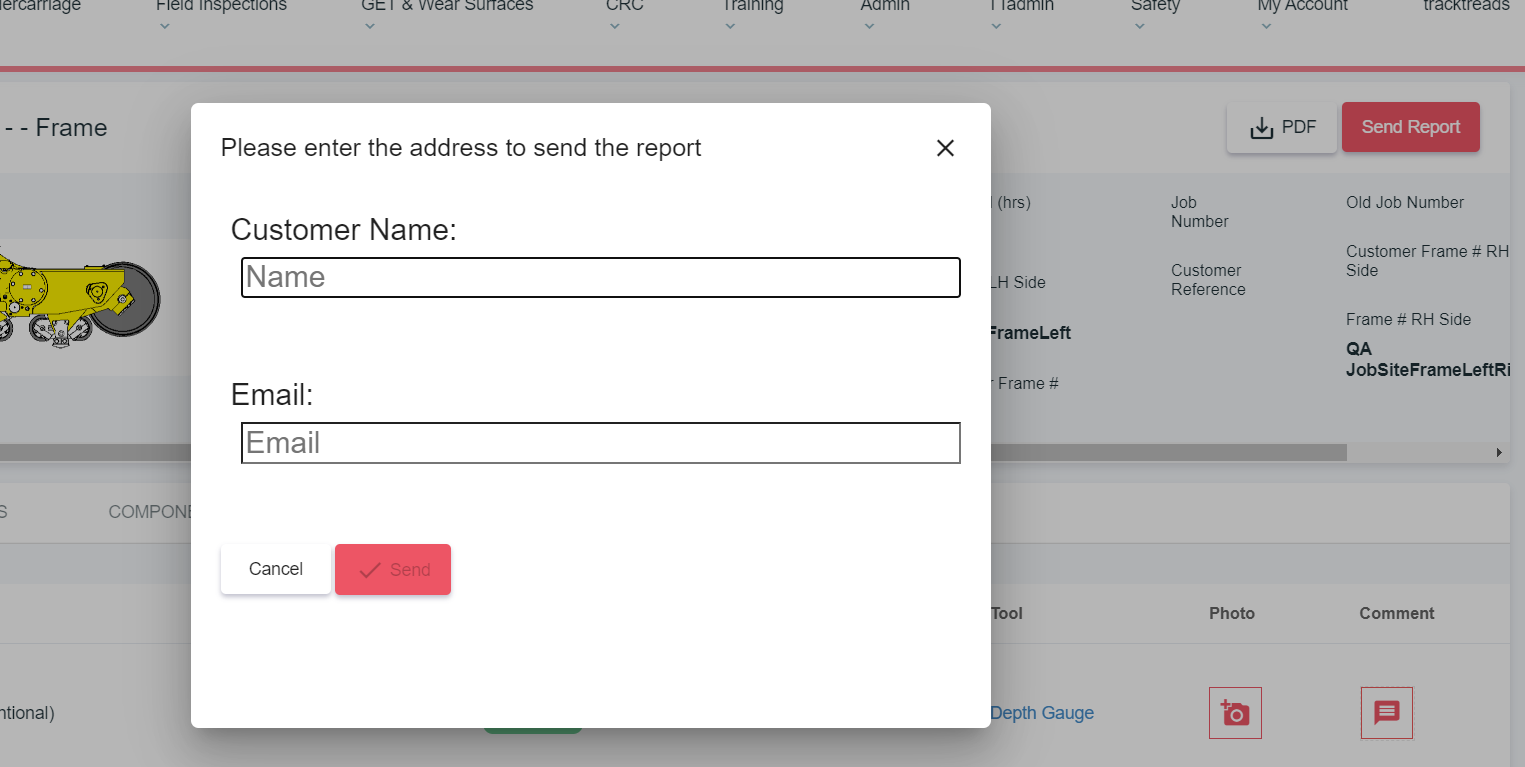
Add the customers name and email and click on submit – once the email has been generated the following message will appear