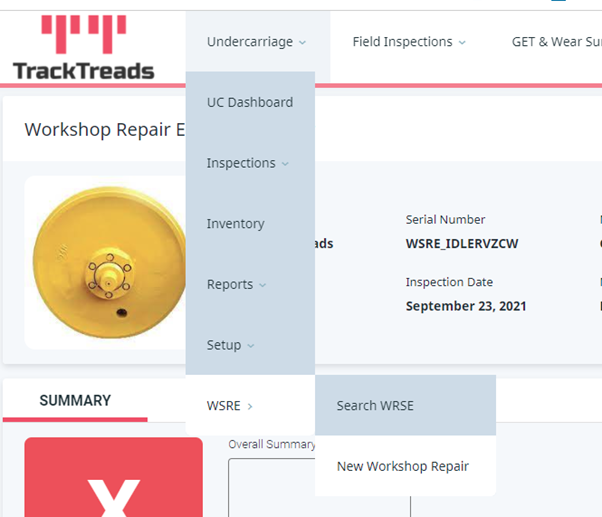
To enter a new Idler Rebuild, please select the following Menu Item of “New Workshop Repair”

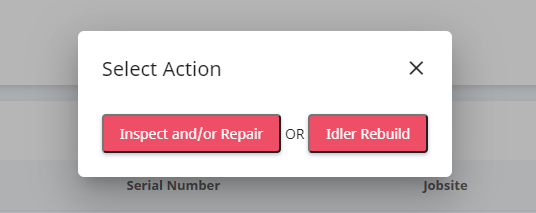
The following popup will appear.

If the Idler has been previously recorded – please select Idler from Inventory. If this is the first time the Idler has been recorded into the system, please select Idler Setup
Idler from Inventory – this will take you to the Inventory Screen where you are able to use the filters to select the Idler that you would like to Rebuild – once the Idler is displayed below – please click on the line and select the option of Idler Rebuild as shown below.

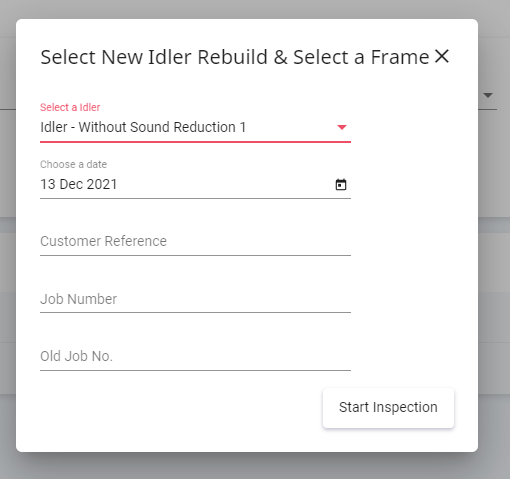
This will then prompt you to start the Inspection – please fill in all the fields that are required in the popup below.

If this is the first time the Idler has been inspected click on the first option “Idler Setup”. The following popup will then appear allowing you to create a new Idler

Select from the drop-down menu items or enter the new data.
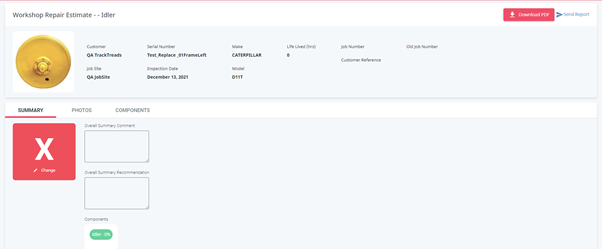
Once the process is completed – click on “Start Inspection” the button is found in the bottom right-hand corner. This will open the Inspection Screen.

Navigate through the 3 tabs of Summary, Photos and Components, adding all the details, images and information that you require.
You can generate the Report at anytime. Simply click on the Download PDF button – which is shown on the top right hand side. When you are ready to send the report – click on send report and then enter the Customer Name and email. Then click “Send”.
