
Navigating to inventory.
You will land on the dashboard inventory. Click on Task list bar to open the dropdown options.

The task list dropdown will extend to reveal a “chain to inventory” button, click on it to be taken to the next page

Select the customer, jobsite and the model and select create new system
Add the chain serial number, date of setup and historical hours on chain setup and historical distance on the chain at setup
Add chain serial number components and all additional information as well and save changes

After selecting the equipment and saving you will need to setup the undercarriage in inventory.
Enter a serial number for the chain as well set the date of setup, historical hours of the chain at setup and the historical distance on the chain setup.
You can then select the chain components that will go on the chain and additional information like cost etc.
They save to go to next page.

After saving you will land on this page with the undercarriage details you entered double check the information and if you want to edit it you can click the back button to edit and if not save to continue.

1.2 Inspecting a Chain on the web
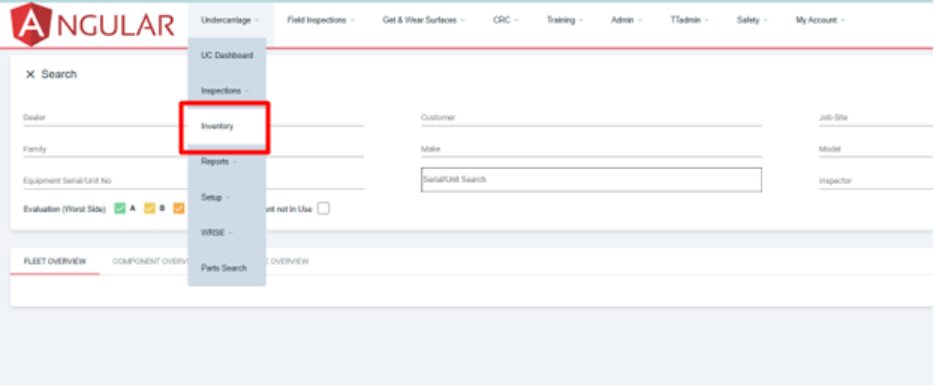
Navigating to inventory.
Go to the undercarriage menu link the click inventory in the dropdown.
You will be directed to the Inventory Dashboard. Use the search section to find the chain you created by searching for parameters such as customer, model, make, etc.
Once you’ve entered your search criteria, click the ‘Search’ button to view a list of chains that match those parameters.
Click on the chain in the inventory that you want to inspect.

You will land on the ‘COMPONENTS’ tab. A pop-up will appear, allowing you to perform an inspection.
You can add parameters to the components, such as measurement, CMU, DOC, Tool, worn, condition, etc. By clicking on a parameter, an input field will appear for editing. Select status as well.
After making changes, click the checkmark to save them. You can also add inspection images and conditions. Any changes made to the components will be automatically saved.

Under the ‘History’ tab, you can review information about the chain, including the component, date, action taken, comments, and cost.

Under the ‘NOTES’ tab you can create system notes or edit system notes and update notes.

Relocating a system can be done in the ‘RELOCATE SYSTEM’ tab where you can ‘relocate to customer’ as well as ‘relocate to Jobsite’. After those changes are done you can click the relocate system button to save your changes and relocate the system
