After launching the app, you’ll arrive at the main menu. To inspect a chain on mobile, select ‘Inventory Inspection.’

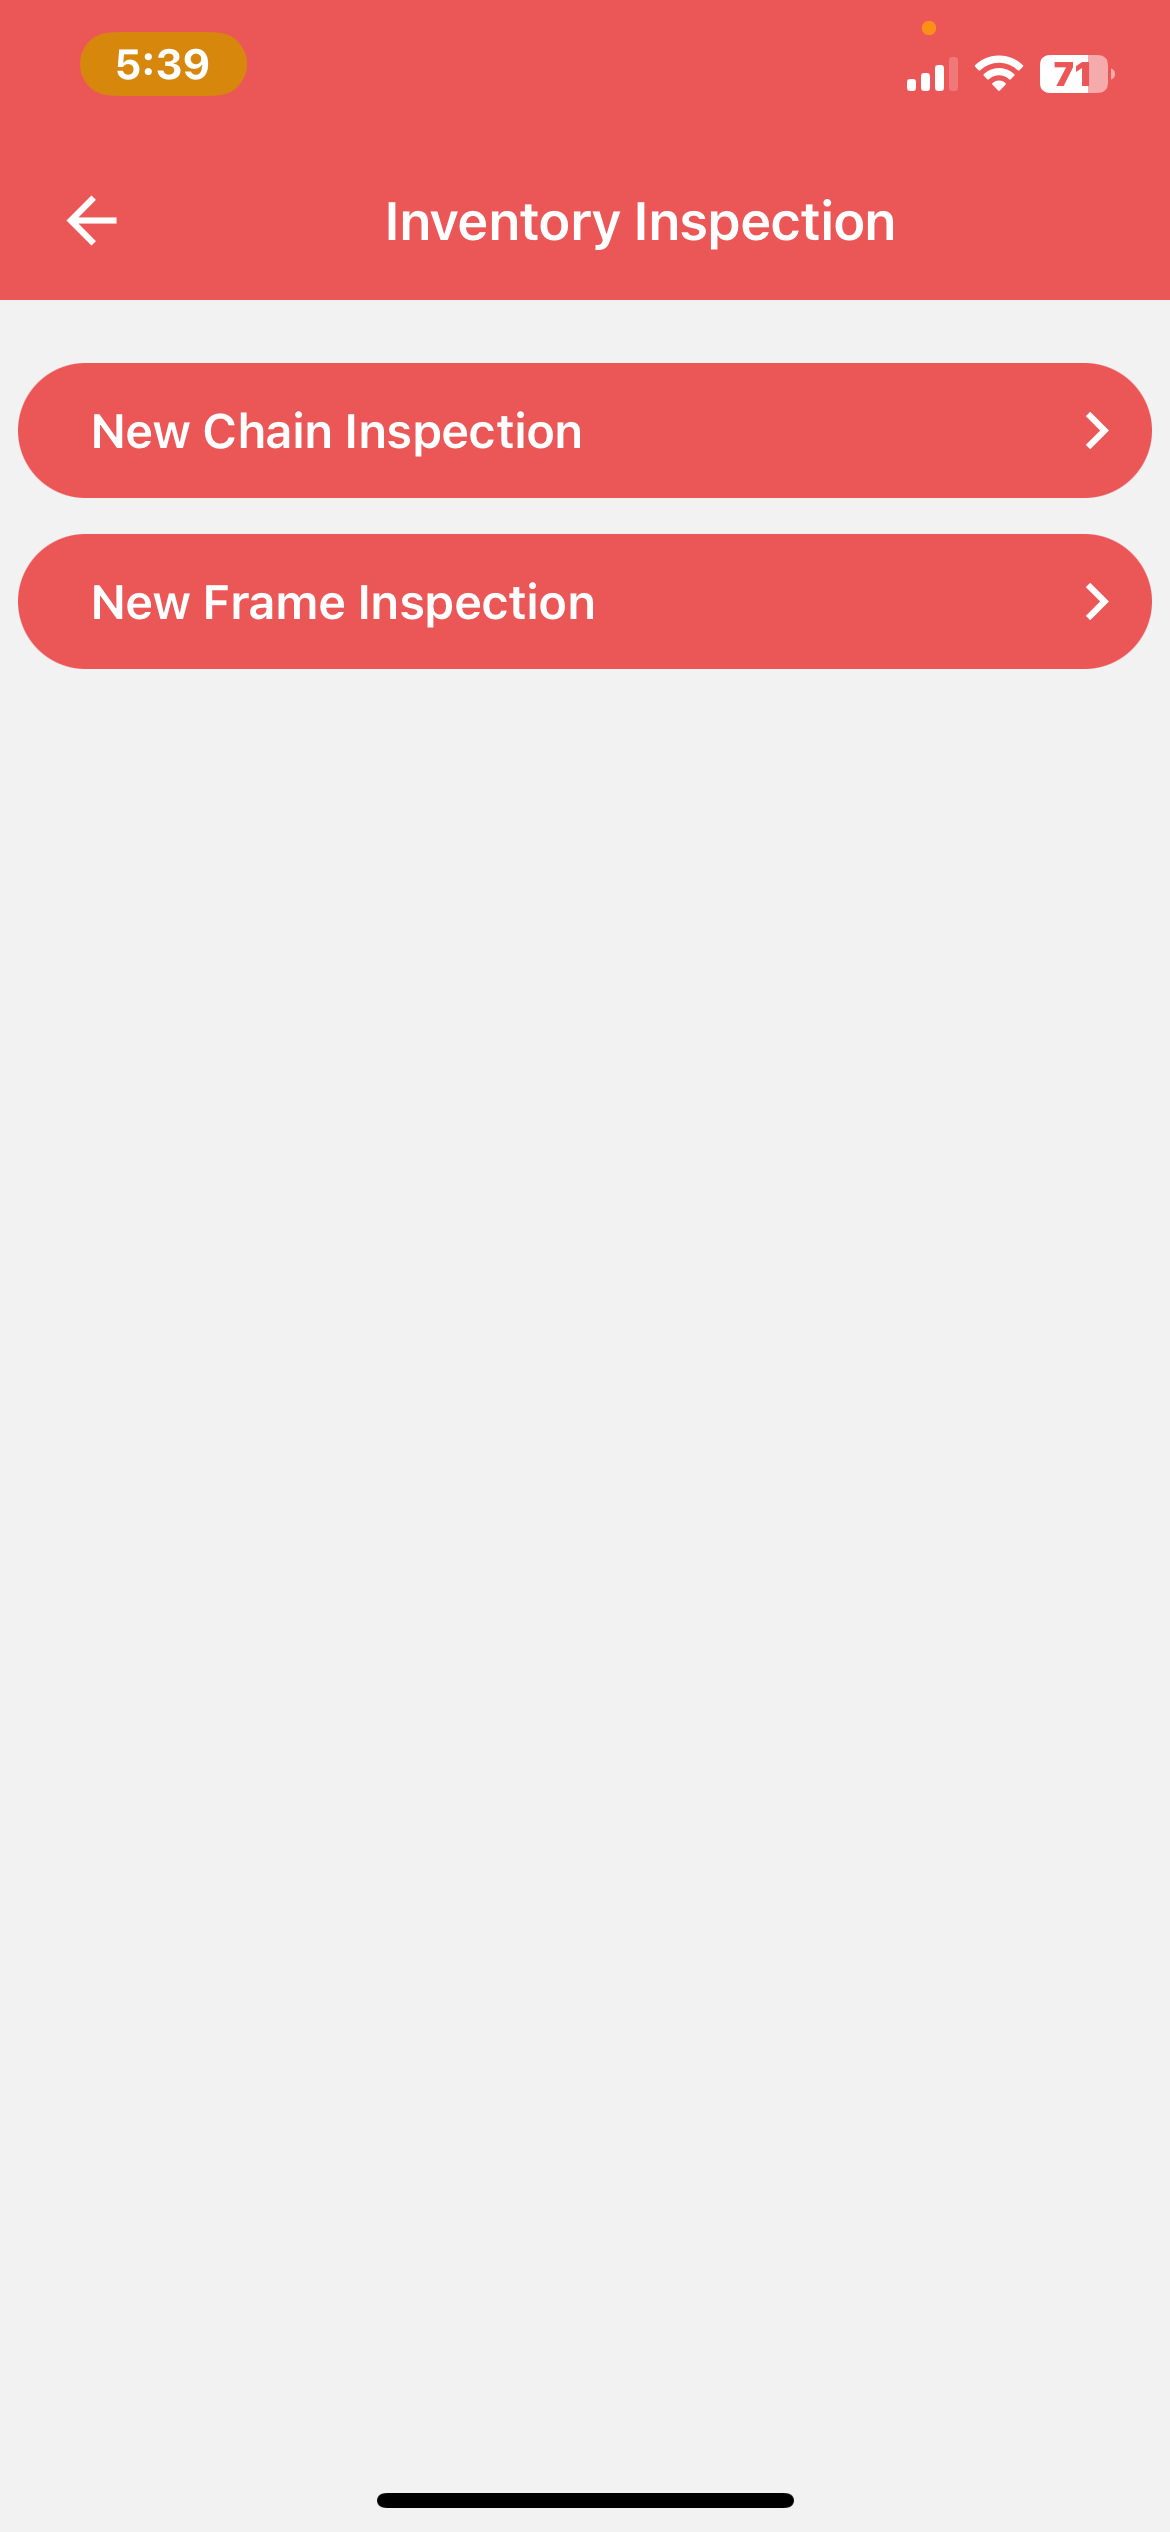
In the Inventory Inspection section, you’ll find options for ‘New Chain Inspection’ and ‘New Frame Inspection.’ Select ‘New Chain Inspection.’
Click on the load chain button

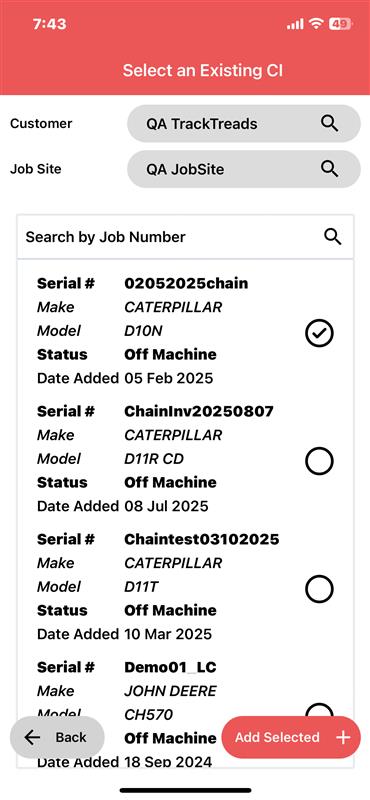
On the ‘Select the Existing CI’ page. Search for your chain by entering the customer’s name and the job site where it is located. When it appears in the list of chains, select it and click ‘Add Selected.’
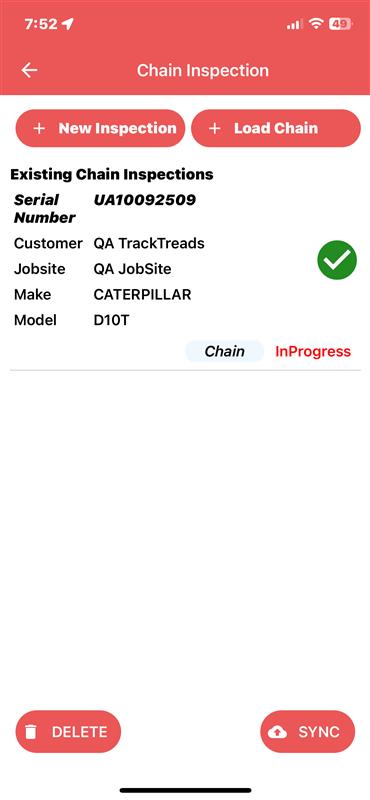
Once you’ve added the selected item, it will appear on the Chain Inspection page. Click on it to begin the inspection process
The Components page will display the chain components. Click on the chain component to inspect it.

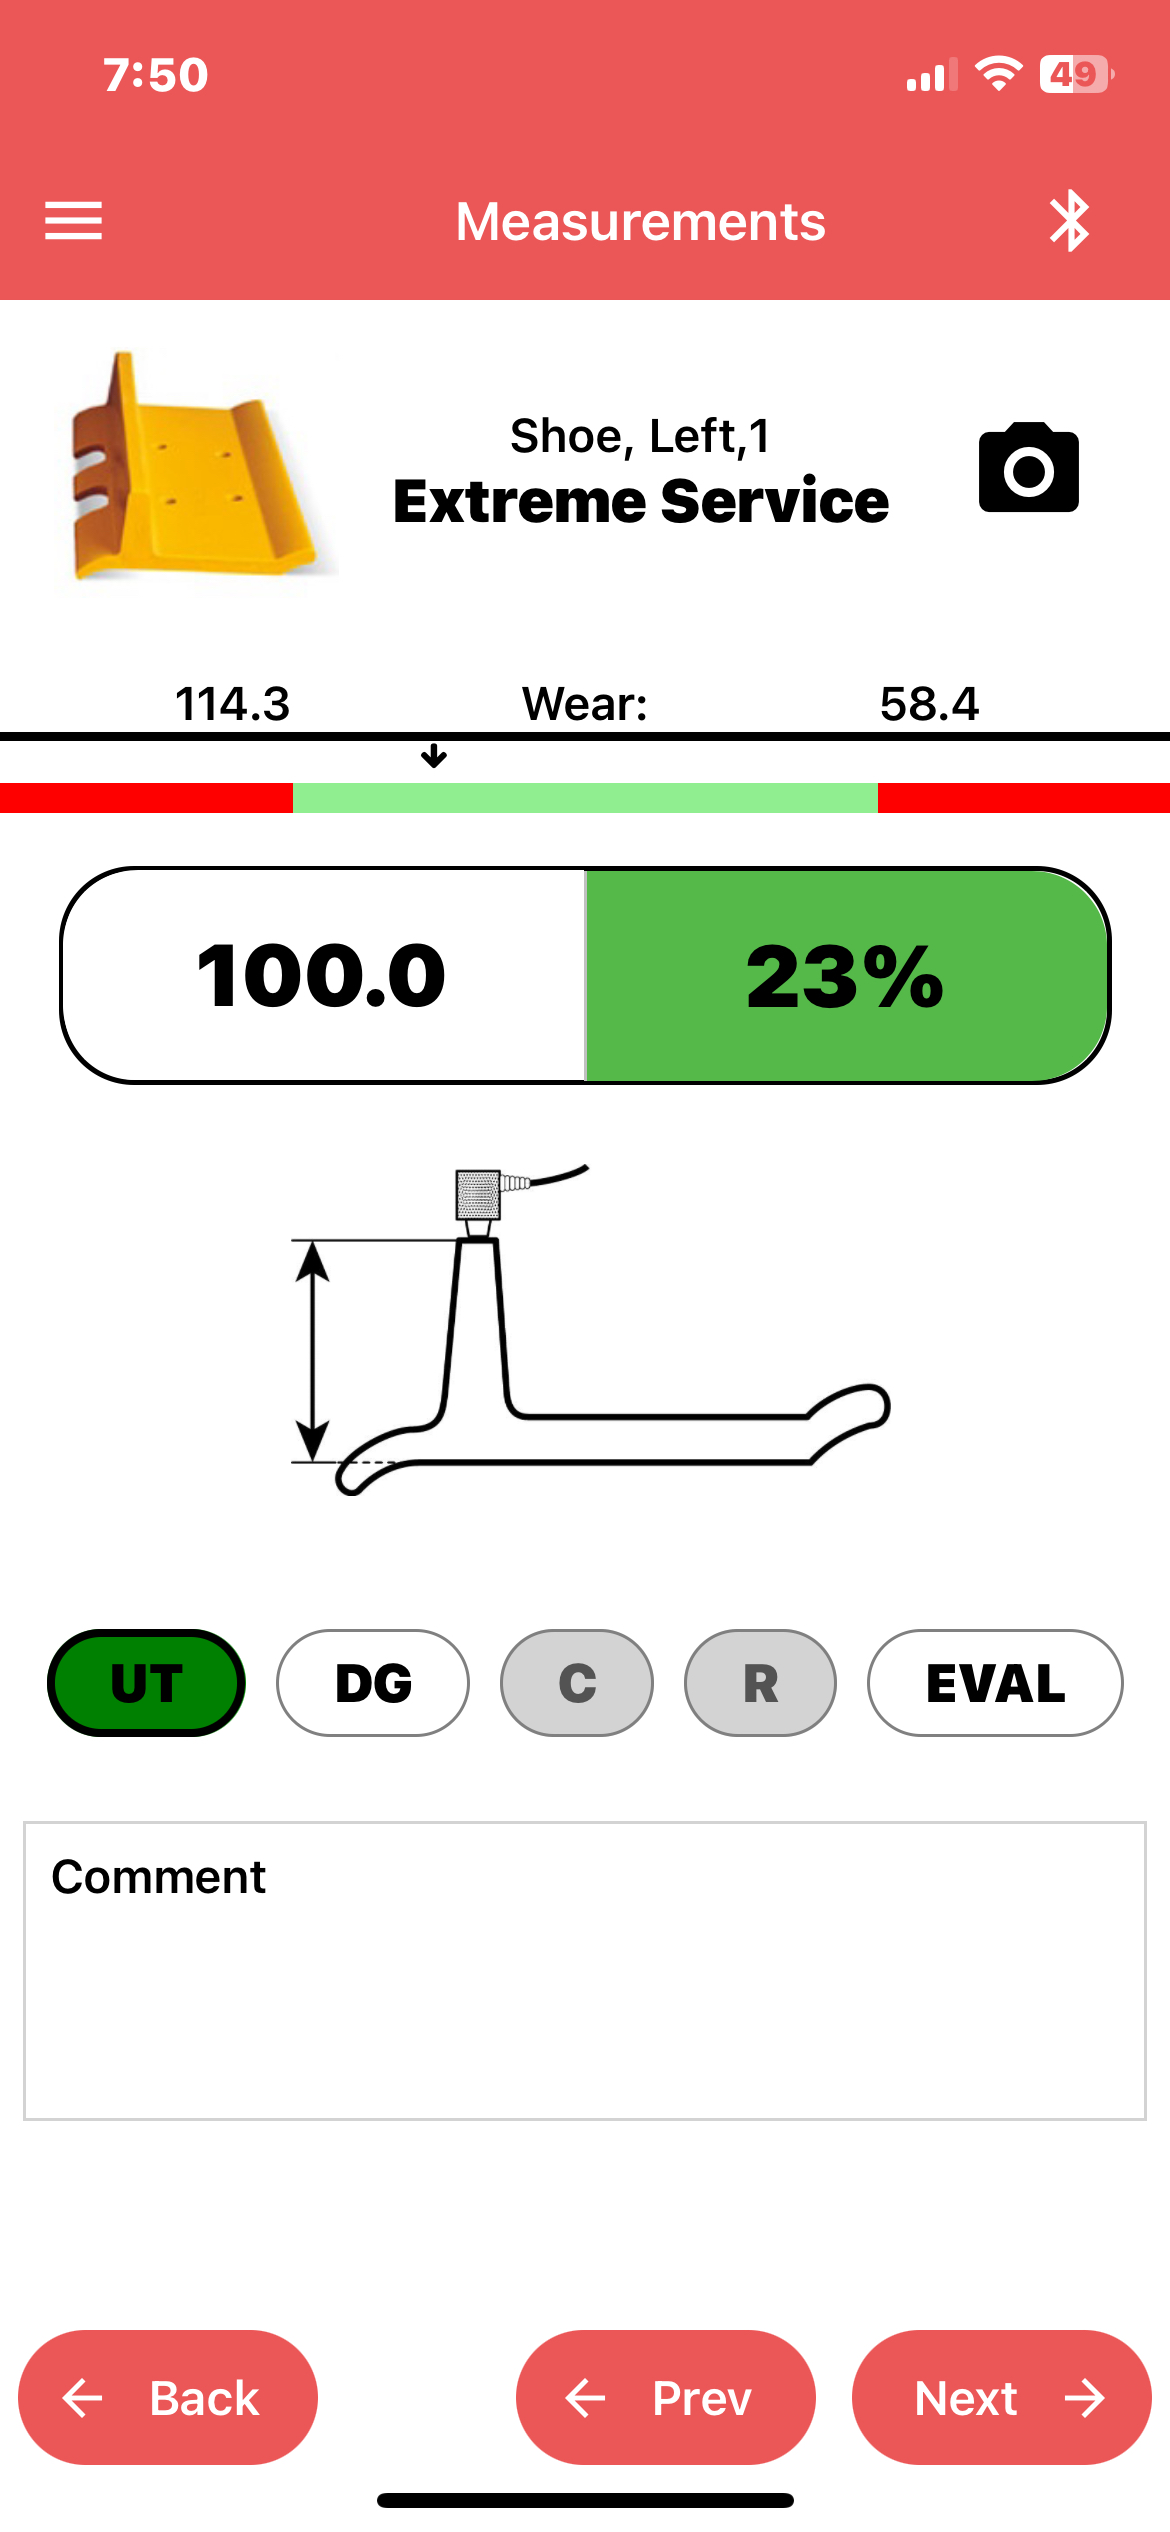
Select the chain component you want to inspect. The measurements will be displayed, allowing you to edit them, add an image, and include comments for UT, DG, C, R, and EVAL codes. You can also record any actions taken. Use the ‘Next’ and ‘Back’ buttons to navigate and edit adjacent components. Remember to save any comments or changes you make
Once you have completed inspecting a chain component, you will be returned to the Chain Components screen. click next to add overall comment and summary.

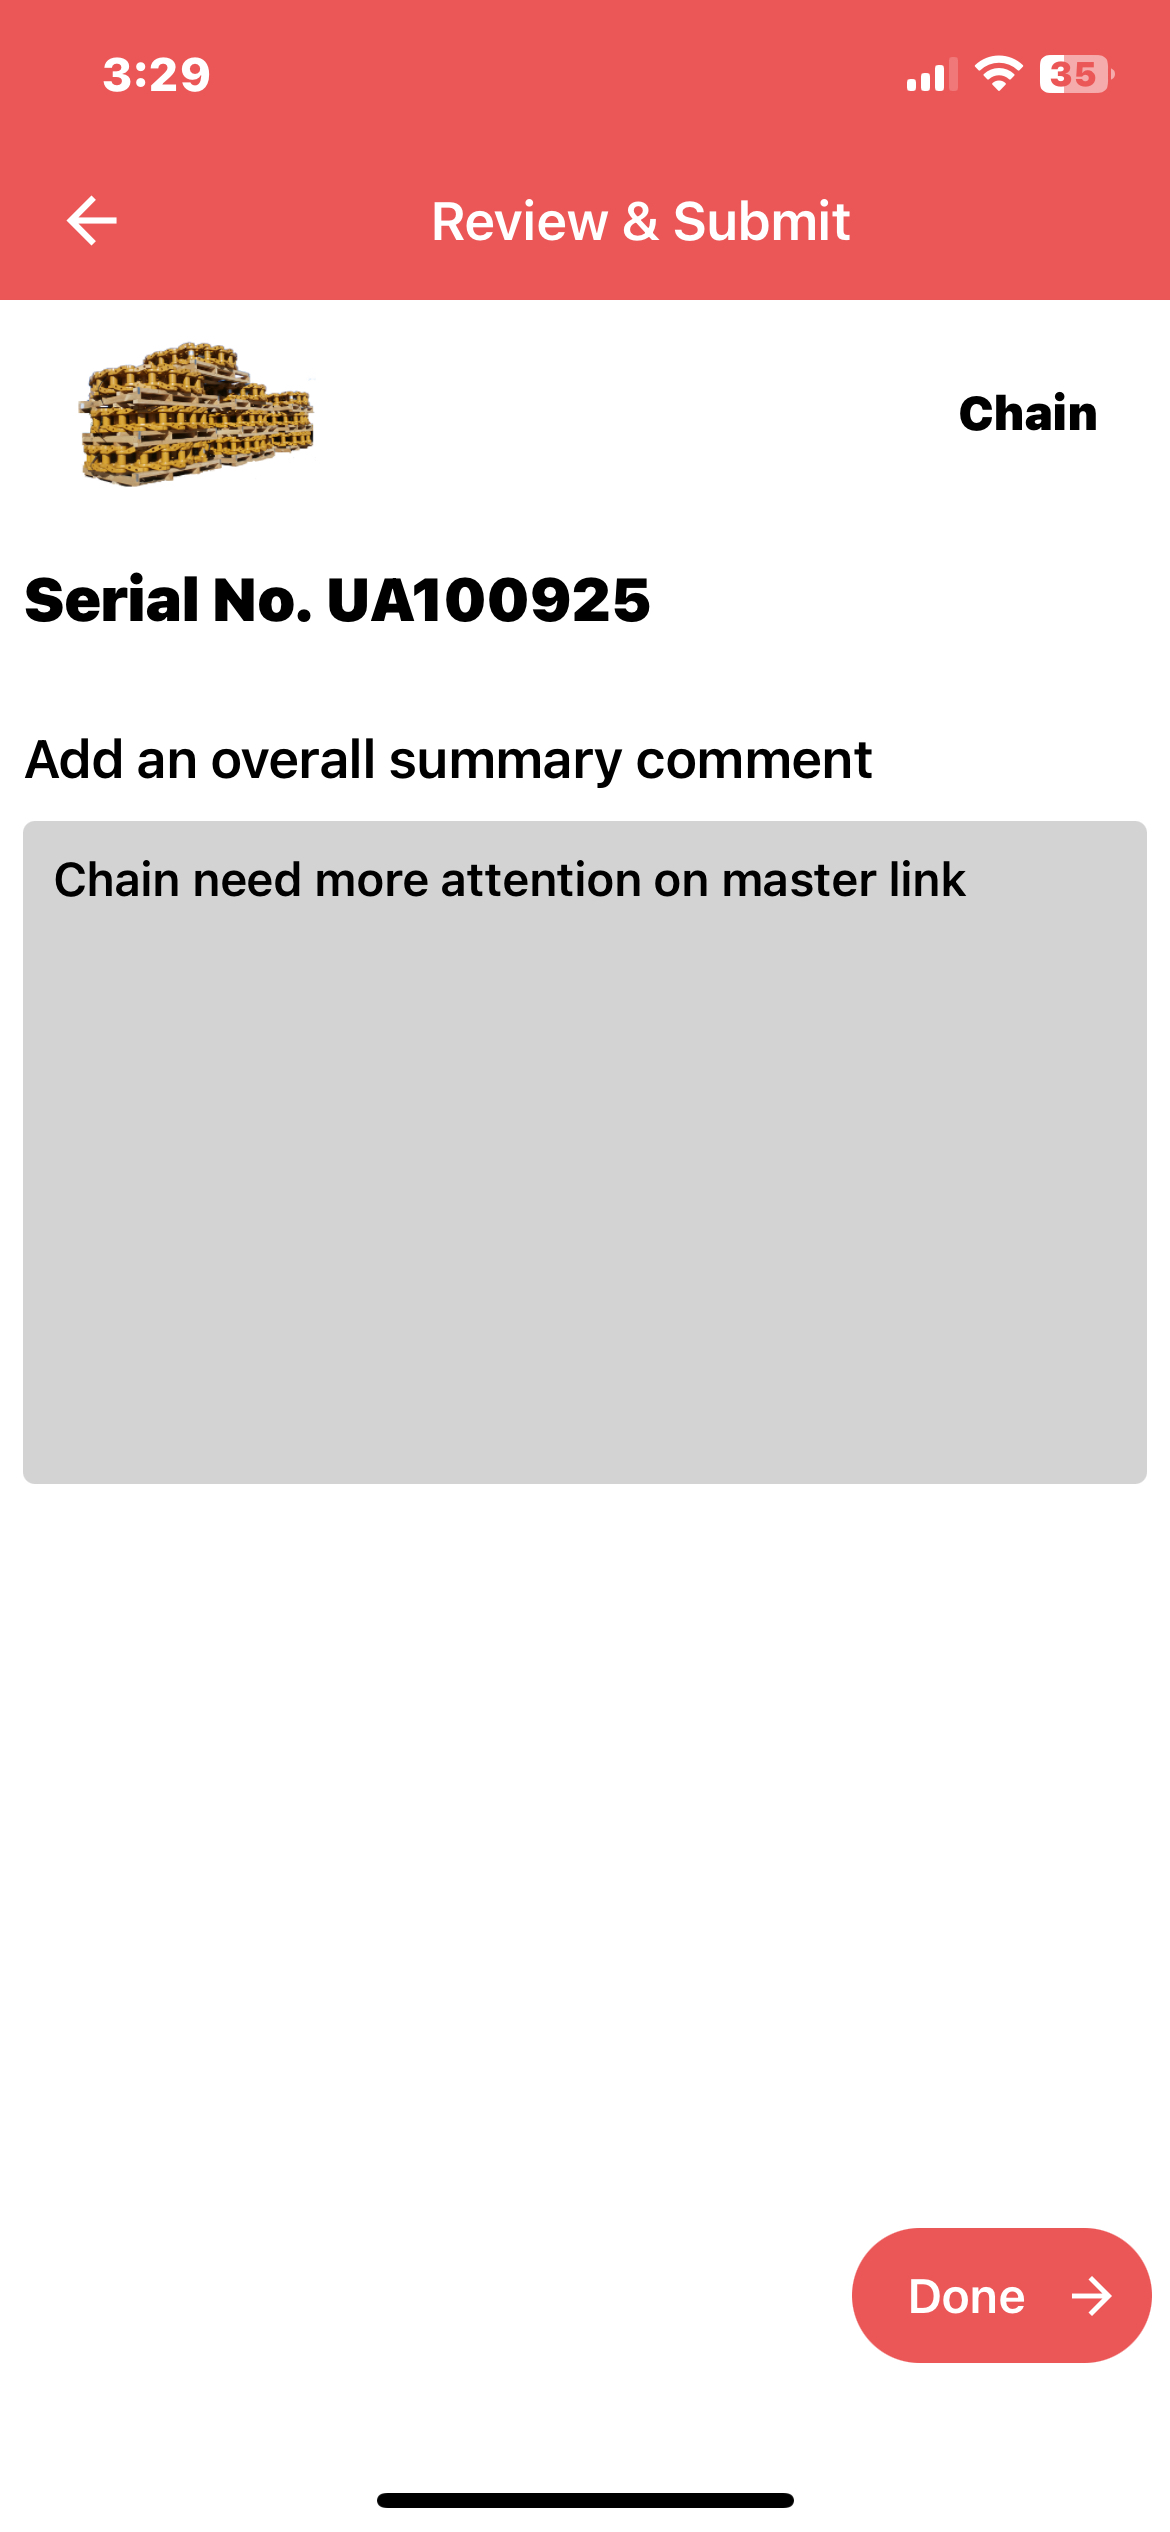
On the Review and Submit page, add an overall summary comment in the input field and click ‘Done’ to complete the inspection.
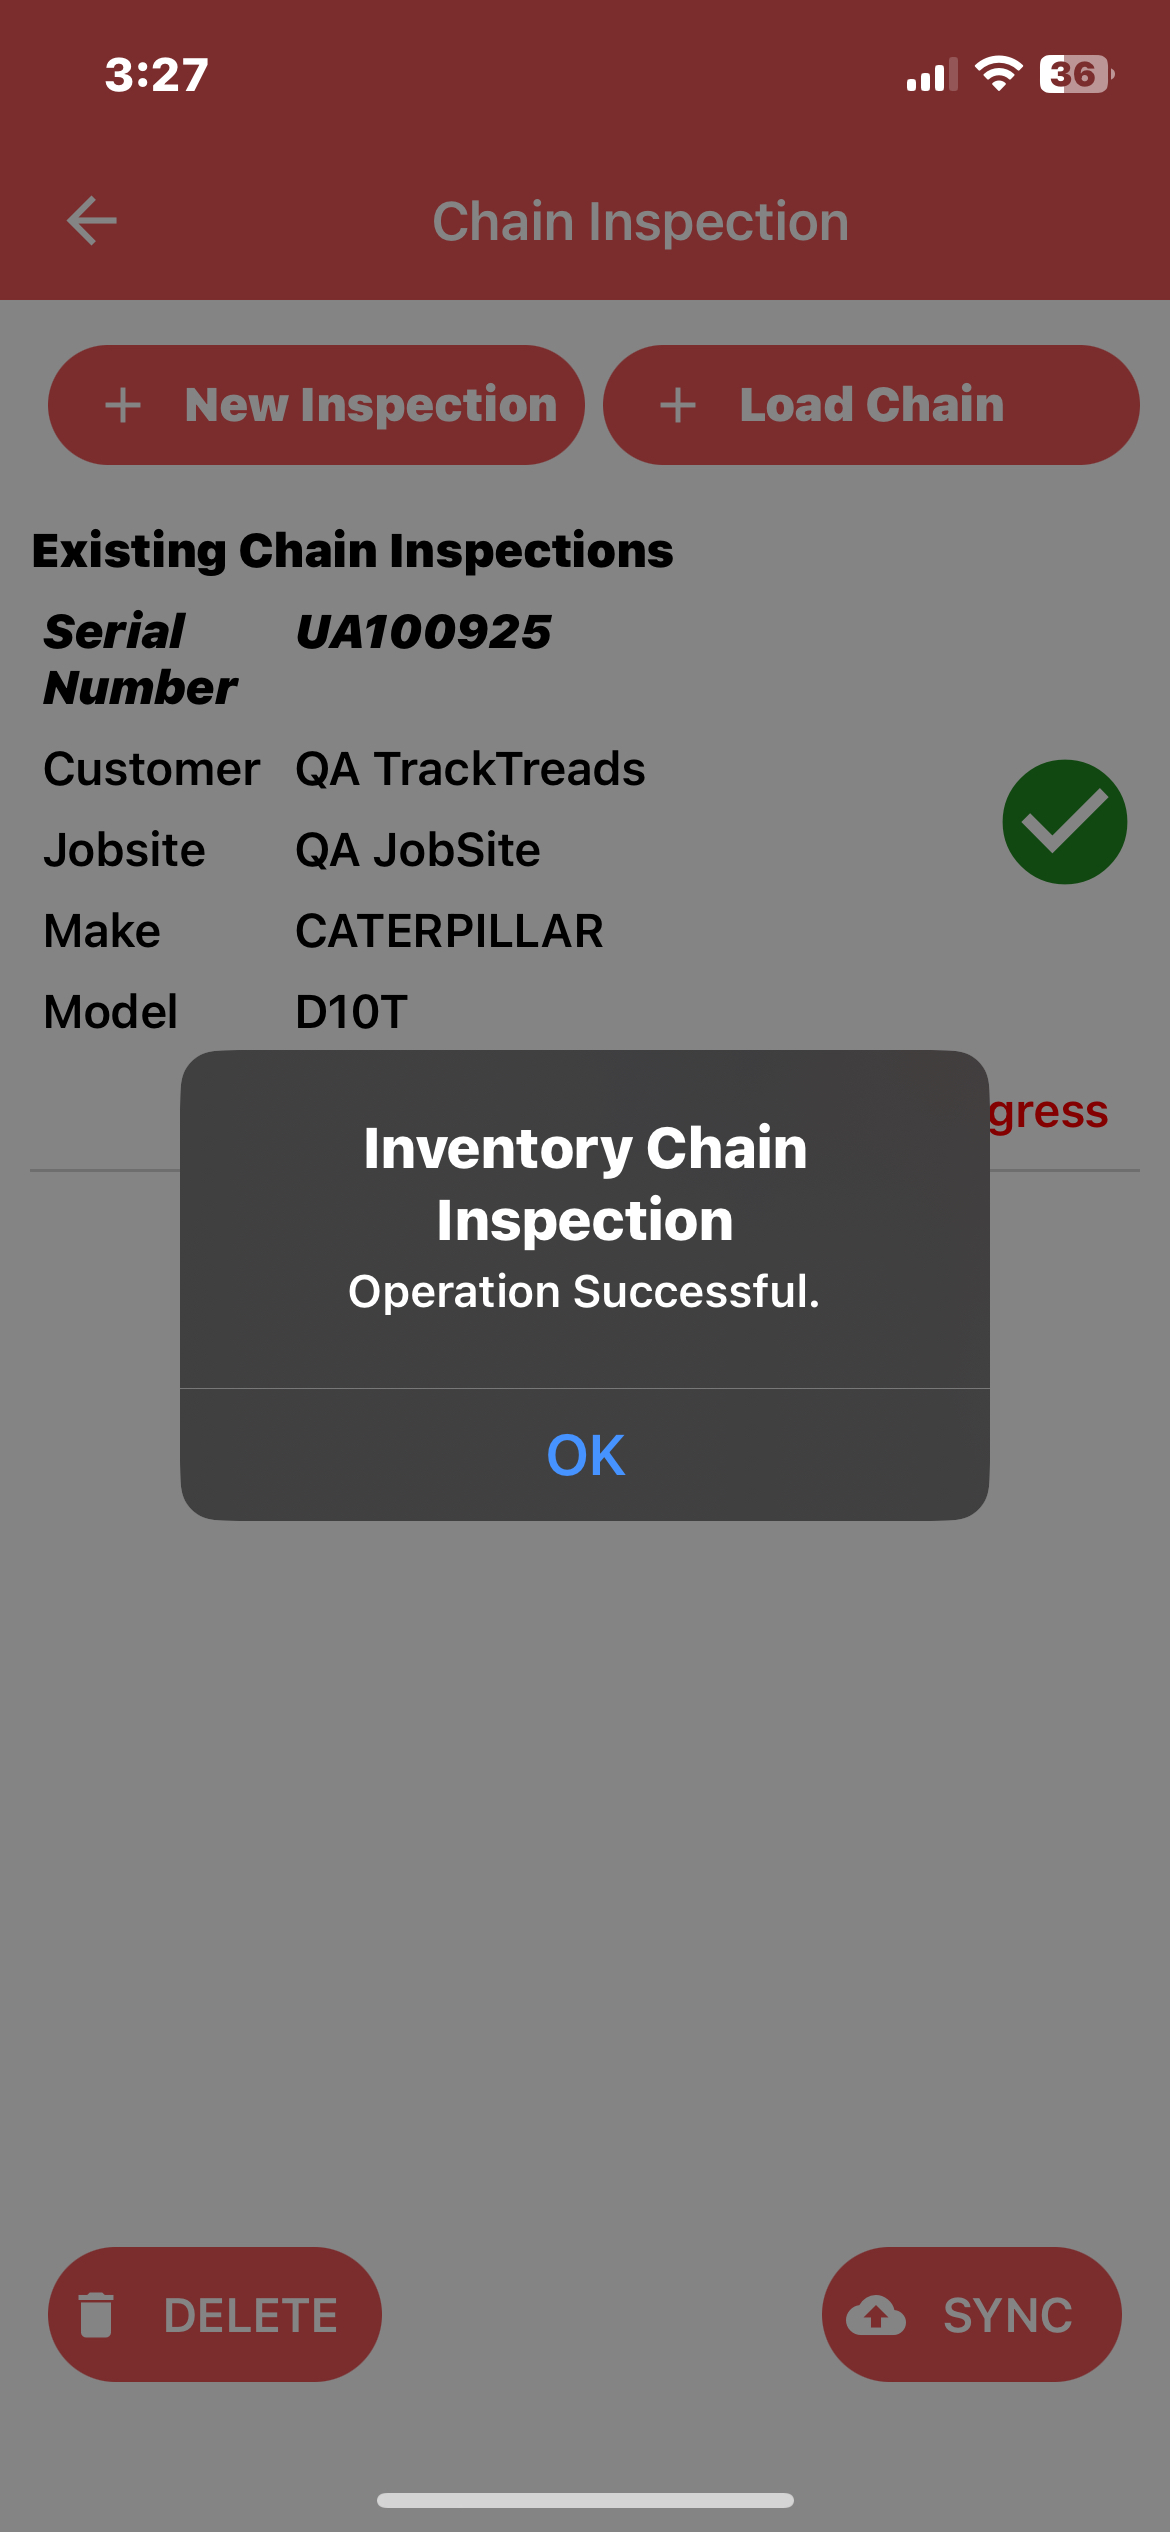
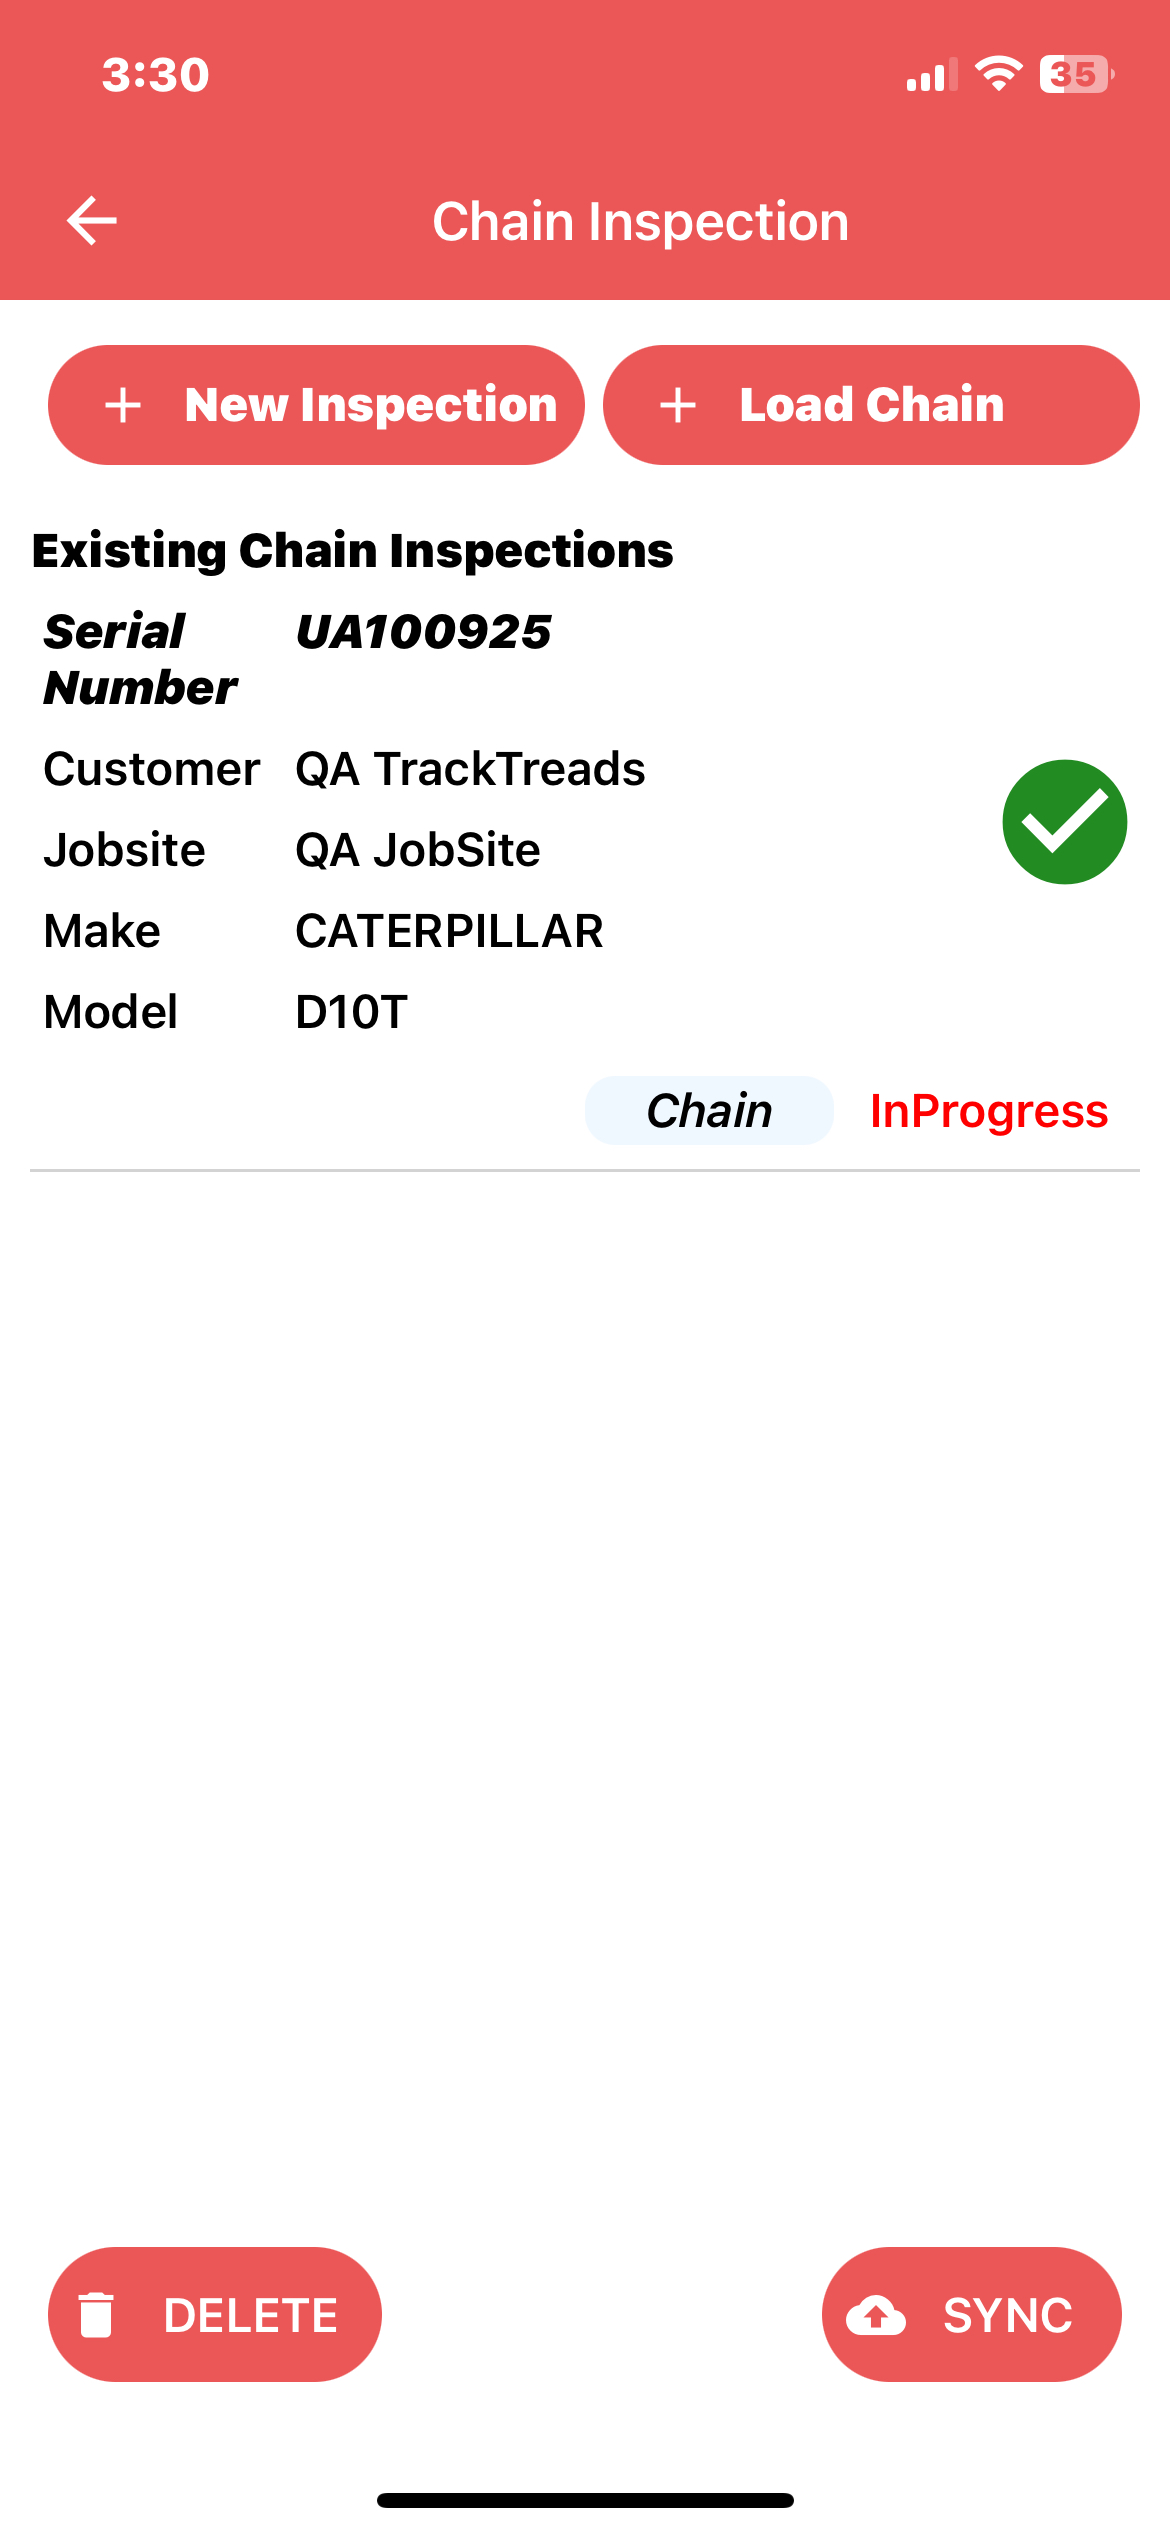
Select the chain inspection you want to sync under ‘Existing Inspections’ and click the ‘Sync’ button at the bottom right.
After syncing, you will receive a confirmation message stating ‘Inventory chain inspection, operation successful.’ Click ‘OK’ to dismiss the message.