
Before a Chain or a Frame can be put onto a piece of equipment, it needs to be created in the inventory. Once created, you can swap it onto equipment of view your inventory. For help managing your inventory see ‘Managing Chains and frames inventory‘. For replacing a chain or frame on equipment see ‘Record a Chain or Frame Replacement‘.
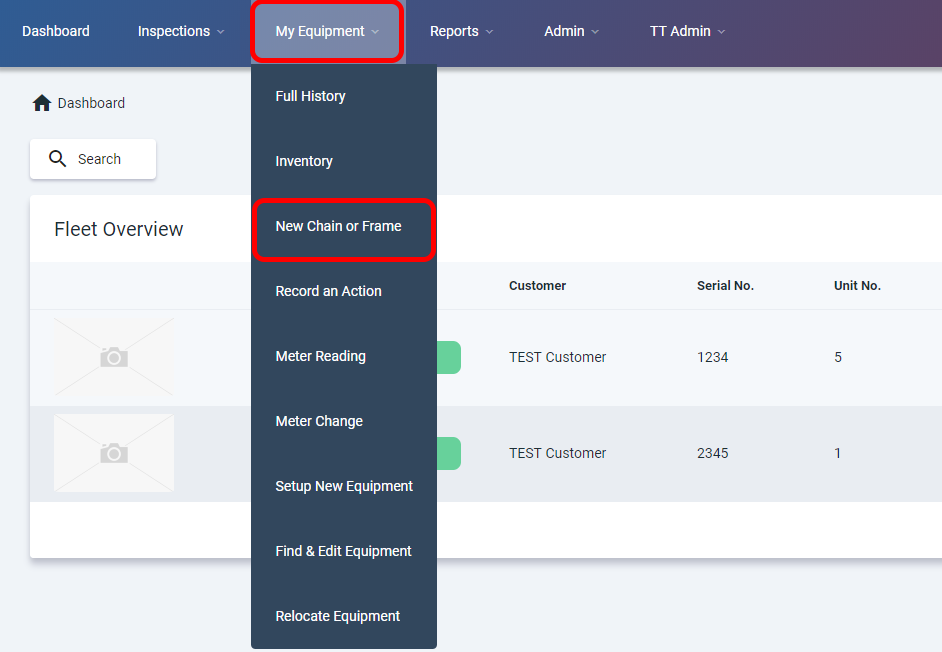
Navigate to New Chain or Frame:- My Equipment > New Chain or Frame
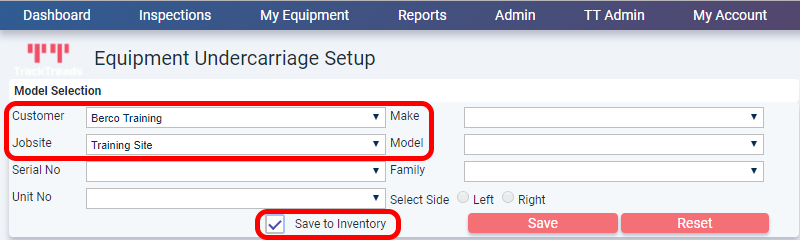
- Under ‘Model Selection’ select the ‘Customer’ and ‘Jobsite’ then tick the ‘Save to Inventory’ check box to unlock the ‘Make’, ‘Model’ and ‘Family’ dropdown boxes.
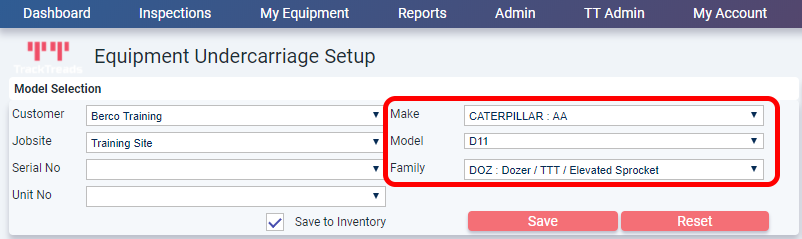
- Select ‘Make’, ‘Model’ and ‘Family’
There are slightly different procedures for setting up Chains and Frames. Select Chain or frame below to view the rest of the setup guide.
Setup a Chain
Setup a Chain

- Under ‘Component Details’ enter the ‘Serial number’ and select ‘Link Assembly Type’, ‘Bushing type’ and ‘Shoe Type’.
*NOTE* If Link, Bushing and Shoe have no options available there is no chain related to the Model you have chosen. - Adjust ‘Budget Life’, ‘Comp. Hrs’. and ‘Equip. SMU’ for each component if required.
- Enter a cost for each component if required.
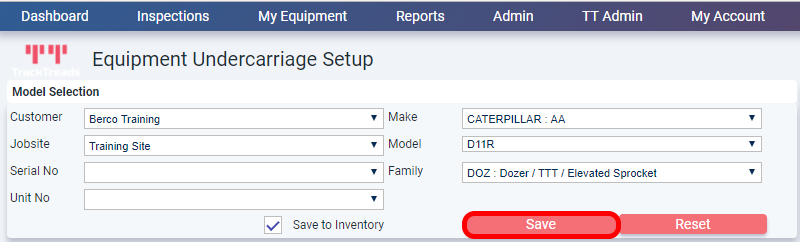
- Click ‘SAVE’
Setup a Frame
Setup a frame
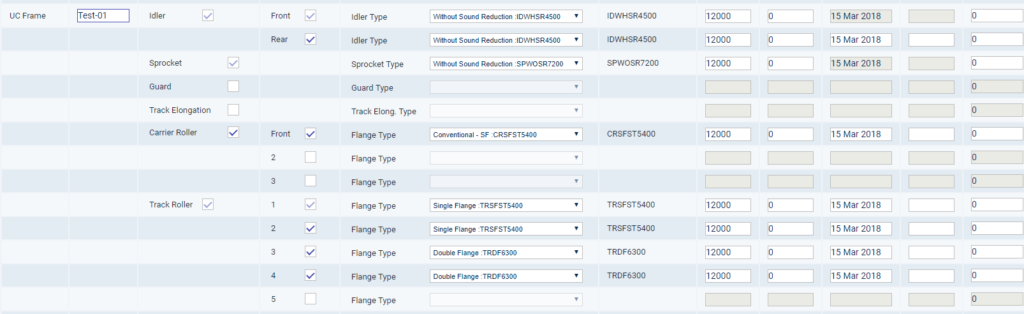

- Under ‘Component Details’ enter the ‘Serial number’.
- Use the tick boxes to select ‘Rear Idler’ if required.
- Use tick boxes to select if the frame has a ‘Guard’ or ‘Track Elongation’.
- Use tick box to select ‘Carrier Roller’ if the frame has one and then select how many.
- Use tick boxes to select how many ‘Track Rollers’ the frame has.
- Once all components have been selected, use the dropdown boxes to select component types.
- Adjust ‘Budget Life’, ‘Comp. Hrs’. and ‘Equip. SMU’ for each component if required.
- Enter a ‘Cost’ for each component if required.
- Click ‘SAVE’